Upload My Own Design to Design Studio
With Brikl you can add 2D stock images (designs) to your design studio ready for customization.
Skip to...
Why add together 2d images to your design studio?
Calculation a stock 2d paradigm
Creating and uploading a design
Uploading a preview image for a design
Adding a placeholder to a 2D pattern
Why is adding 2D designs to your pattern studio a skillful option?
If yous accept a big number of products, digitizing every single 1 can be time consuming, to say the least.
Uploading your files in 2D gives y'all the opportunity to utilize your supplier'south 2nd images and then add branding, saving copious amounts of time in the process.
Stock images, uploaded in SVG format, can exist customized in the following means:
- Modify colors
- Add together prints
- Add text
- Add together images
- Add placeholders
- Add together personalization (east.grand. squad rosters)
Adding a 2D stock image (blueprint)
Step 1 - Create a production
Learn how to create a new production with our step-by-pace guide here.
Brand certain you enable the customization pick.
Step 2 - Access the Design Studio
In that location are 2 entry points to the Blueprint Studio
- Dashboard > Itemize > (select product) > Design Studio
- Dashboard > Design > Blueprint Studio > (select product)
If you lot desire to learn more near the Design Studio, visit our guide here.
Step 3 - Prepare the Design Studio to 2D mode
Get to Dashboard > Pattern Studio > Studio Settings > Design Steps
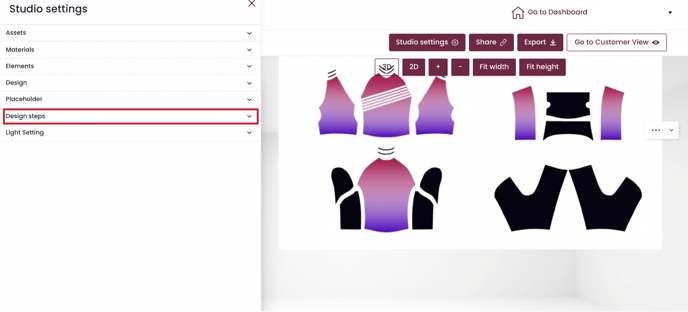
Enable 2d view, disable 3D view, and refresh.
-2.gif?width=688&name=Untitled%20design%20(1)-2.gif)
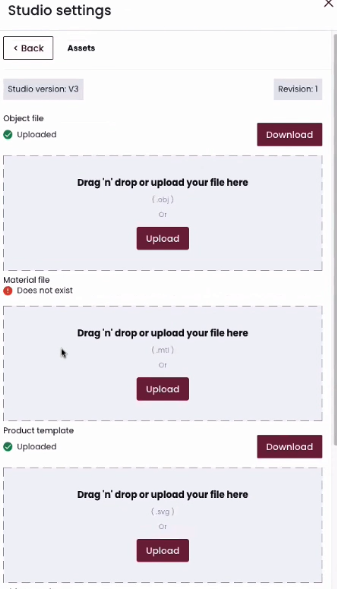
Then go to Studio Settings > Avails.

When uploading and creating files in 2D, yous can skip object files, material files, and all other fields aside from 'Production template' in the nugget subsection.
Upload a product template past dragging and dropping it into the 'Product template' field. Your folio will automobile-refresh once consummate.
%20(1).gif?width=688&name=Untitled%20design%20(3)%20(1).gif)
Once successfully uploaded, y'all'll notice a green tick side by side to it.
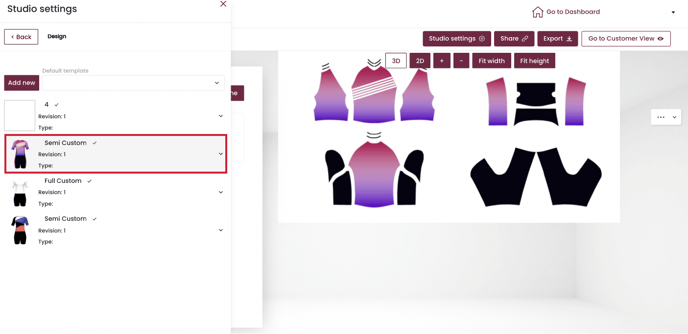
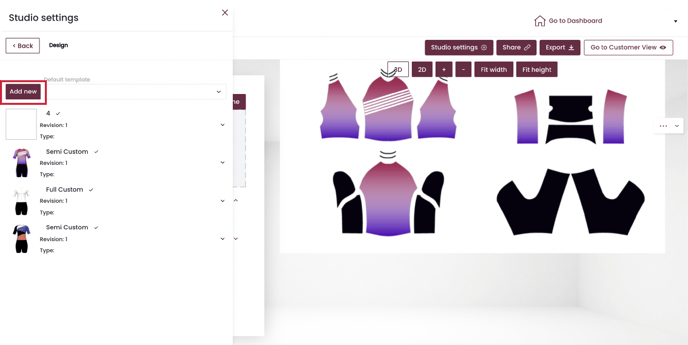
The next step is to upload a design template. Go to Studio settings > Pattern and add your template.
%20(1).gif?width=688&name=Untitled%20design%20(4)%20(1).gif)
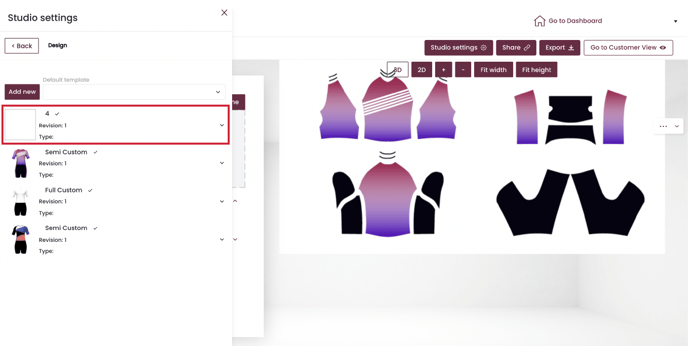
You can take a blank template or a design template - it doesn't matter. Just you do need to upload at least one template for the design to appear in the Design Studio (Dashboard).
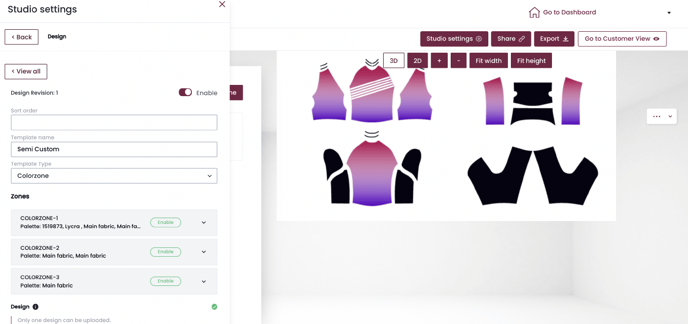
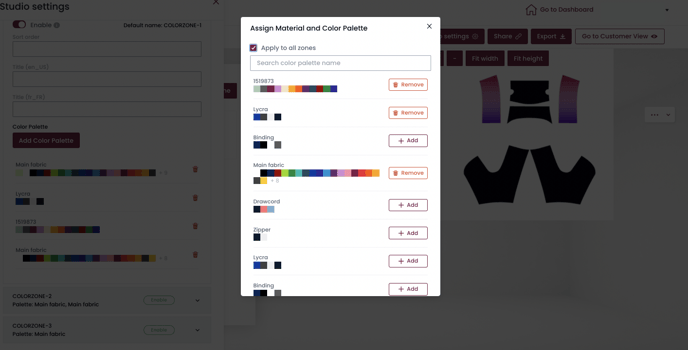
When successfully uploaded, you'll notice a range of newly available colorzones! Click into one to assign them to palettes.
-1.gif?width=688&name=Untitled%20design%20(5)-1.gif)
Instead of applying colors one by 1, you lot can assign one color to all zones by clicking the box at the top. Hit refresh in one case you lot're ready.
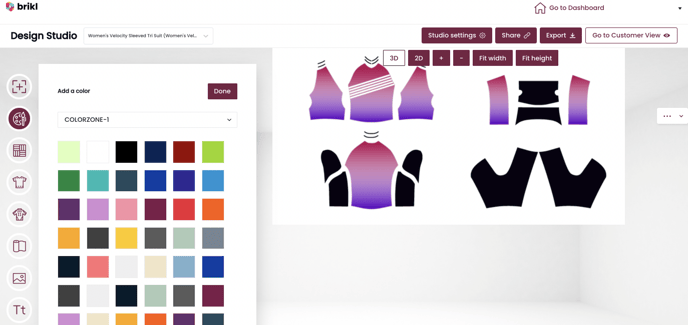
Your design template should now be visible in the Pattern Studio.
Step iv - Create and upload a design
a) Create a design
Make sure to embed the second PNG or JPEG in your blueprint software (Adobe Illustrator)
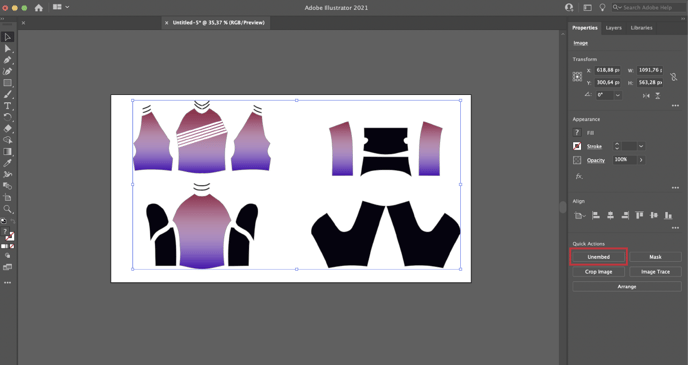
Brand sure the prototype is on ane layer called COLORZONE-1.
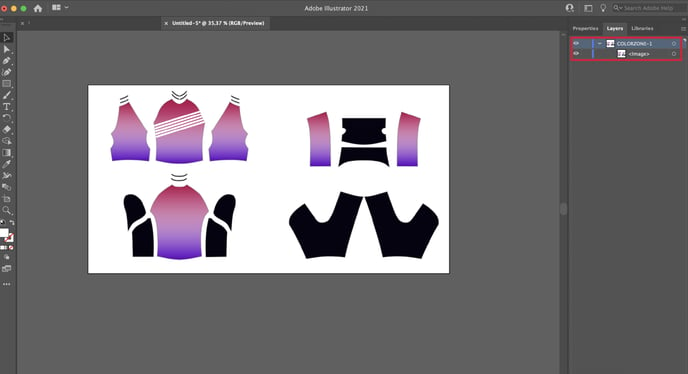
Do not create a "Group" in your SVG file. It will make the file unreadable by the Brikl software.
b) Upload a design
Create a new design in Studio Settings.
Open the new blueprint
Upload the 2D stock image (svg) in the pattern upload area.
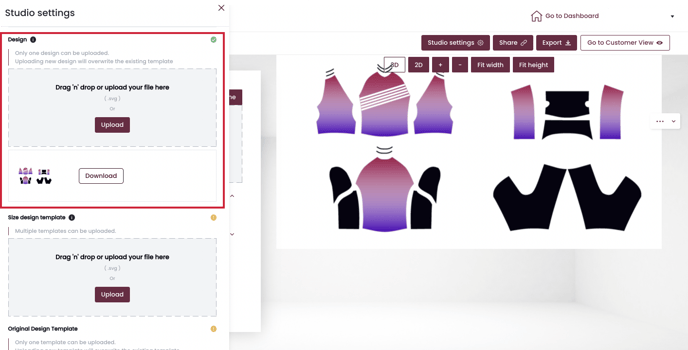
Remember to refresh the folio after all uploads are washed.
Pace five - Upload a preview prototype for the design
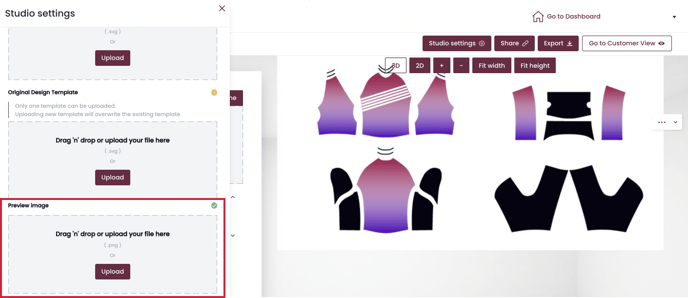
Examination if everything works by adding text onto your design, rinse and repeat. 🎉
Adding a placeholder to a 2d pattern
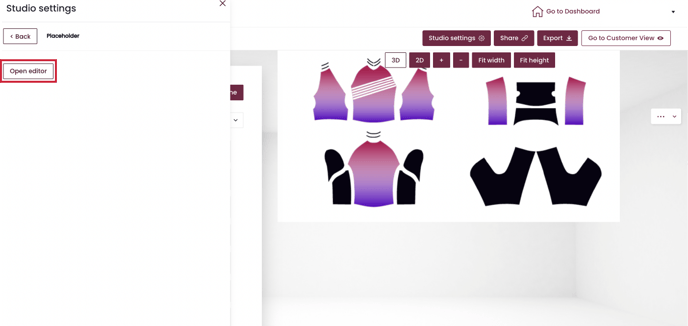
Go to Studio settings > Placeholder > Open Editor.
 Click 'Add New'
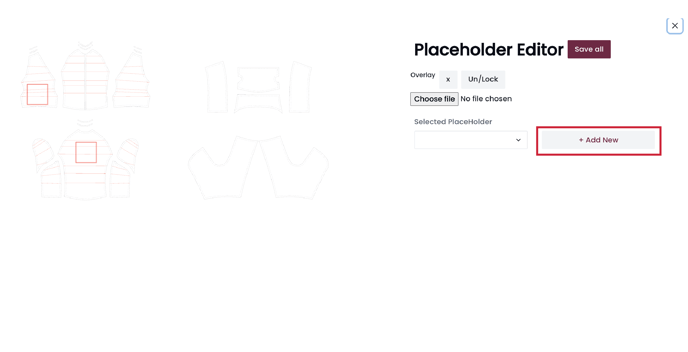 You'll at present be able to identify and resize the placeholder chemical element.
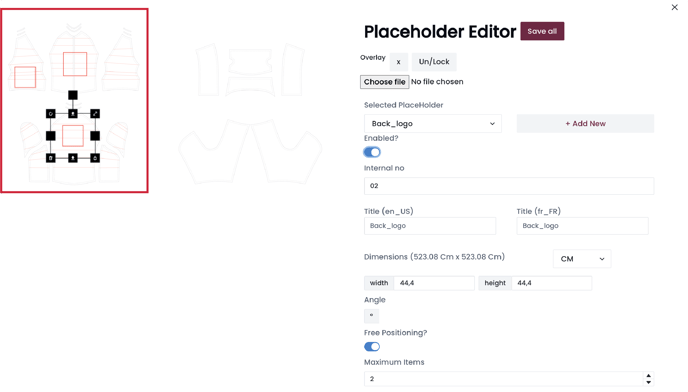 Stretch the chemical element to fit your pattern using the black boxes along the side. One time ready, click 'Enabled' and add your title.
- You tin can also select whether you'd similar the placeholder box to exist positioned by the user by selecting 'Free Positioning'. This allows customers to move the text, object or logo inside the box. If it's turned off, the organisation will car-size the object within the box to maximum width.
- Toggling the 'Able to change default value' setting allows your customers to upload their own logos or images to and apply them onto your designs.
- If you have multiple pattern templates, click 'Assign to pattern' to assign the chemical element to them.
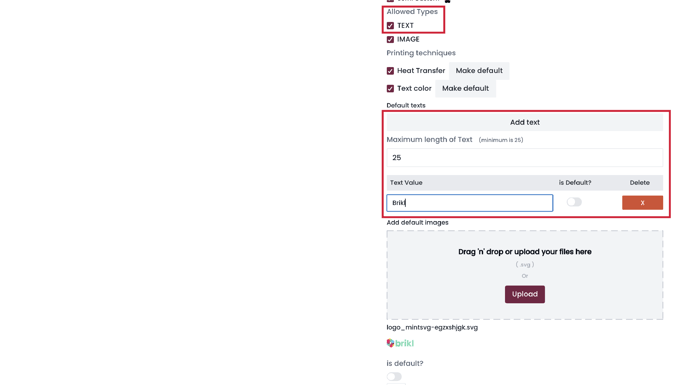
Upload the logo or paradigm you lot'd similar to place in the placeholder as an SVG file and select whether or not you'd like to set it as default when its thumbnail appears. Click 'Immune Types > Prototype' in this case.
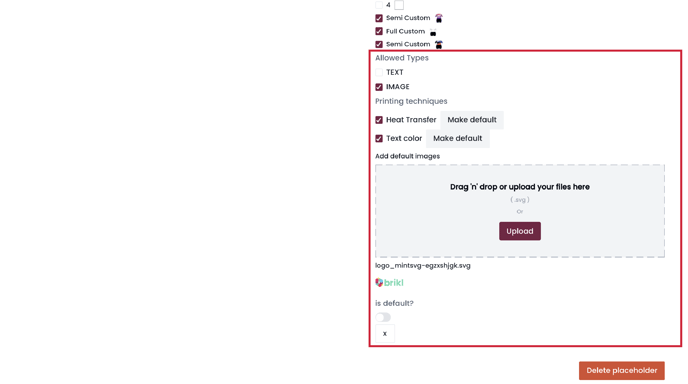
![Untitled-14 [Recovered]](https://www.brikl.com/hs-fs/hubfs/Untitled-14%20%5BRecovered%5D.png?width=688&name=Untitled-14%20%5BRecovered%5D.png)
Click 'Relieve all' at the head of the page every time you lot fix a placeholder. Do not divert away from the folio before saving to forestall your changes from rolling dorsum.
Desire to complement your logo with some text? Click 'Add New' at the top and identify your placeholder chemical element wherever you lot'd like that text to announced. Adjust the sizing, enable, add your championship, and select your options every bit above.
Toggle 'Able to change default value' to ensure that your customers tin change text.
Click 'Allowed Types > TEXT' in this instance. Fix a maximum length you would similar people to be able to enter by specifying this in the 'Maximum length of text' field.
 Become to Studio settings > Pattern steps > Steps to make your placeholders available for customization on your designs.
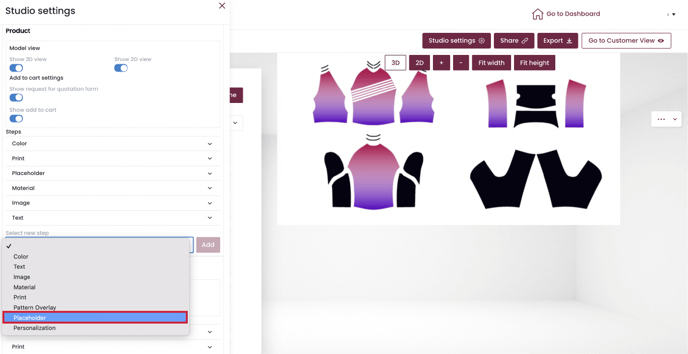
E'er select 'Personalization' then click 'Placeholder'. Personalization must exist selected in gild for your placeholders to appear on your designs. This as well applies to 3D designs.
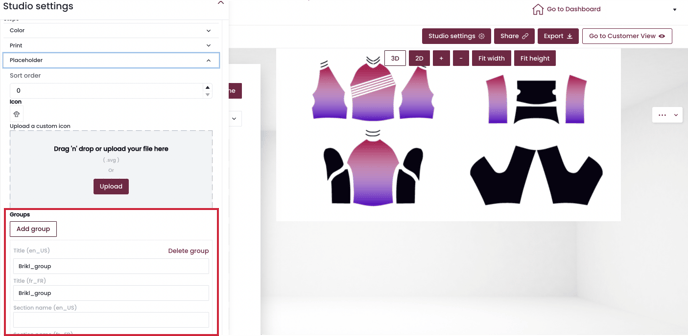
Afterwards adding this, click on 'Placeholder' to expose the next set of options. Yous'll now demand to 'Add group' if y'all have more than ane placeholder selection you lot'd similar to be available for customization on your designs.
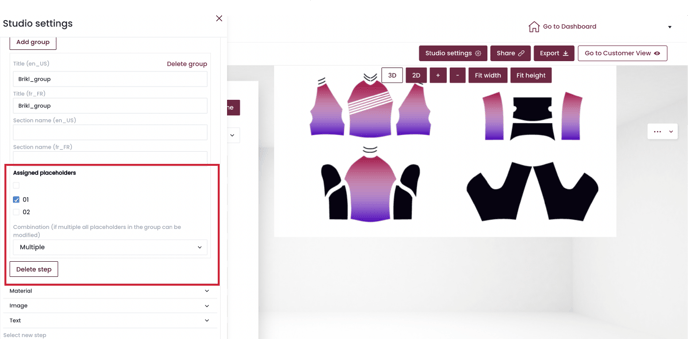
 Go to 'Assigned placeholders' and select the placeholders yous'd like to be available from the checkboxes. Once you lot're set up, hit refresh.
 You'll at present exist able to click into and modify the placeholders you've gear up. If yous selected 'Change default value', customers can click 'Reset' and upload their image in place of the one y'all've set as default.
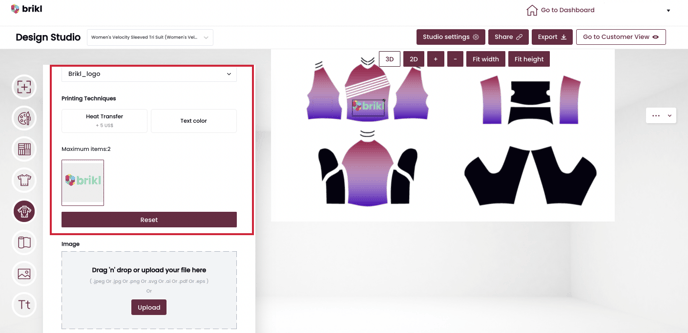 Similarly, if y'all've selected 'Free Positioning', your customers volition be able to move their image or text freely within the element. Refresh the page to see your changes.
Source: https://www.brikl.com/en/knowledge/upload-a-2d-design
0 Response to "Upload My Own Design to Design Studio"
Postar um comentário